![]()
Turbo Replacement
Guide Fiat Coupe 20VT 
By: MattB
This is a guide on how to change the turbo charger on a 20VT. I would say that this task is not too difficult (first time I’ve ever worked on a coupe) as long as you have a bit of time, patience and space.
To start then:
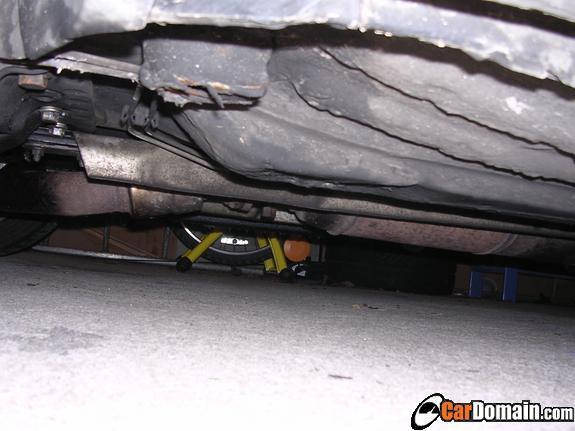
First thing to do is get the car up on axle stands. The jacking points for the car are just behind the front wheel, in a bit from the sill. They are round turrets so to speak, shown here: This is assuming you have a trolley jack. You then need to support the car on axle-stands, I positioned mine under the wishbones.
Once the car is in the air you can start to work on it. The undertray will need to be removed. This is held on with screws along the front edge and some bolts I think underneath the car (mine was held on with cable ties here). Once all the screws/bolts are removed ease the undertray off and position to one side out of the way.
Next thing to do is remove the fans from the radiator. Firstly disconnect the wiring. There are two connectors, one for each fan that just unclip and the one for the resistor at the top of the radiator, which has one clip and one spade connector.
With the wiring unclipped, remove the screws holding the fans on. One on the top, one down each side of the rad and one at the bottom. Then remove the fans upwards from the engine bay. Next is to drain the coolant. The easiest hose to remove is probably this one:
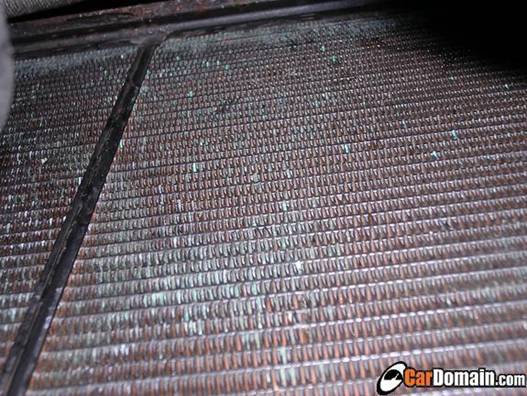
From the turbo to the radiator. Put a bucket or basin underneath to catch all the coolant, I think there’s about 7 or 8 litres altogether. I completed the turbo change with the rad in place, and found there to be plenty of space, but you may wish to remove it and it would be a good time to replace if you haven’t already (mine was falling to bits).
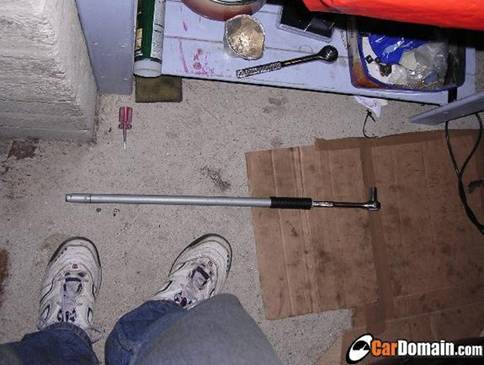
If you don’t have aircon you can go out the top, so simply remove all the hoses, unscrew the rad at the top and pull it upwards (held in by rubber grommits at the bottom). If you do have aircon, you’ll need to go out the bottom. The bolts holding the support bar on my car were extremely rusty and difficult to move. A quick modification to my trolley jack handle later and I had all the leverage I needed to get them loose.
You’ll also need to separate the aircon radiator which is two screws at the top and two at the bottom and then support this radiator by tying it up with string or similar. Sorry no pics. of this bit.
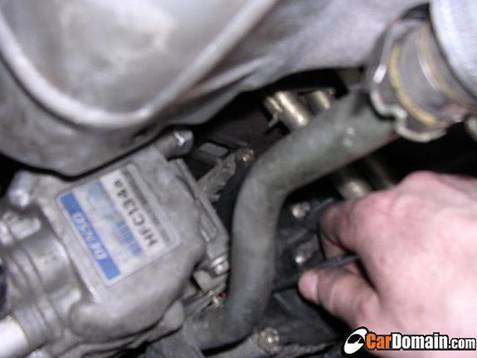
Next task is to remove the lambda sensor and heat shield. On aircon cars, this means removing this coolant hose:
and loosening the bolts that hold it to the aircon bit (motor?). It’s very fiddly to get them back on so try not to unscrew them fully. Cars without aircon shouldn’t have this problem.
Unclip the wiring for the lambda sensor that runs along the front of the engine, just above the heat shield. You may also want to unclip this wire along near to the battery and take this out of the engine bay altogether. Using a lambda socket, unscrew the lambda probe from the downpipe and place carefully to one side. Next undo the three bolts holding the heatshield on, two at the top and one near the bottom The heatshield is a real pig to remove and may need a bit of wiggling. I also removed the coolant pipe from the top of the rad to the engine and the lambda wire support to make it easier.
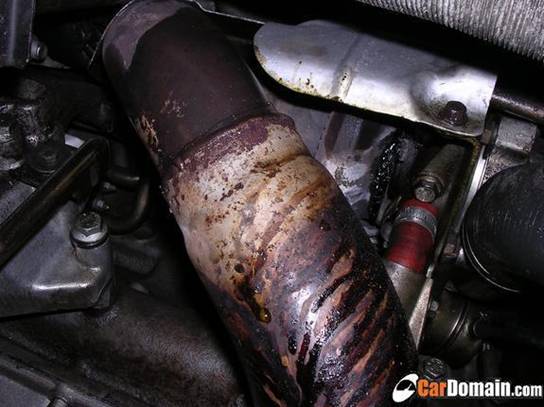
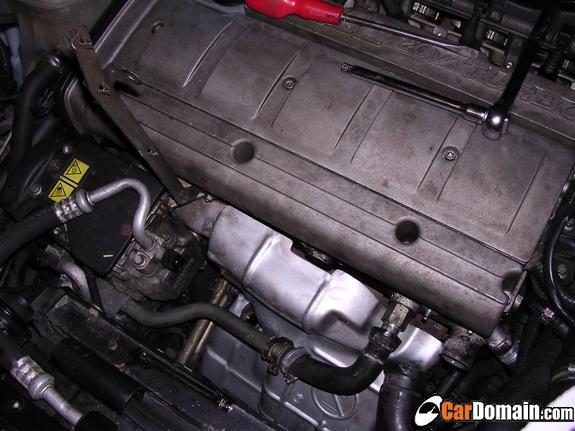
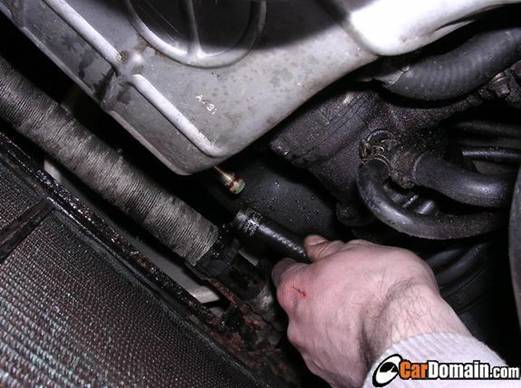
Finally you can see the turbo! It’s a little bit oily down there.
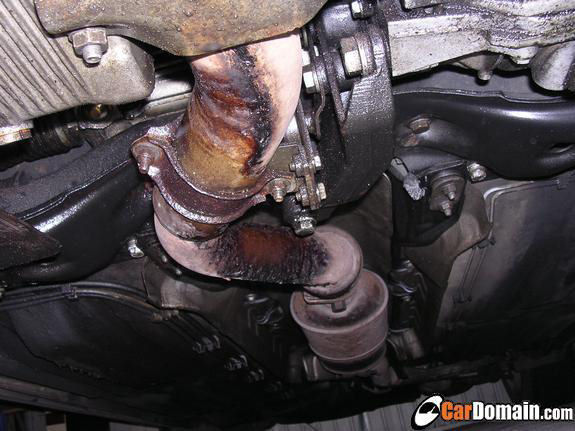
Looking up at the turbo from underneath, unbolt the c-clamp that holds the turbo to the downpipe and remove. Don’t lose the washers or the nuts and bolts tho.
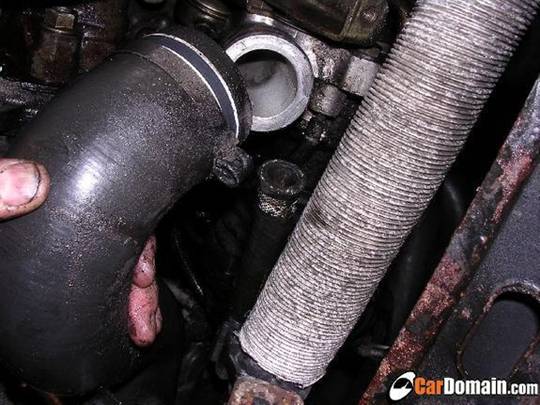
Next task is to, in no particular order, remove all the hoses that join onto the turbo. They are, the intake ( I left this till removing the turbo to prevent anything falling in there) on the compressor side,
and the boost pipe from the compressor side to the intercooler.
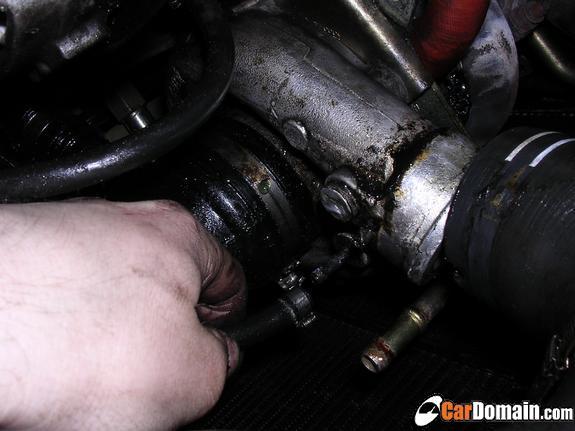
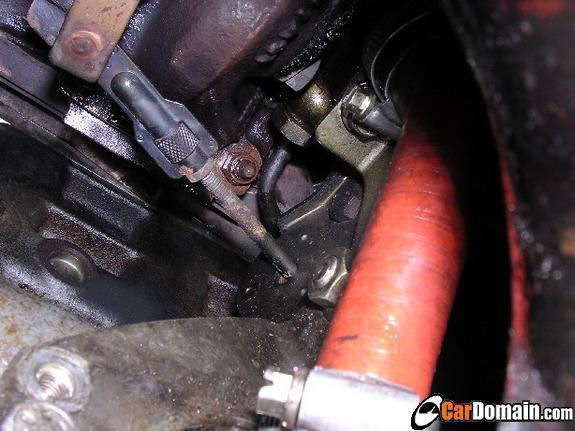
From underneath, there is the oil drain pipe, which has a heat shield on it. This is held on by two bolts, here

and here: It’s easiest to remove the hose clip at the engine end of this pipe for now.
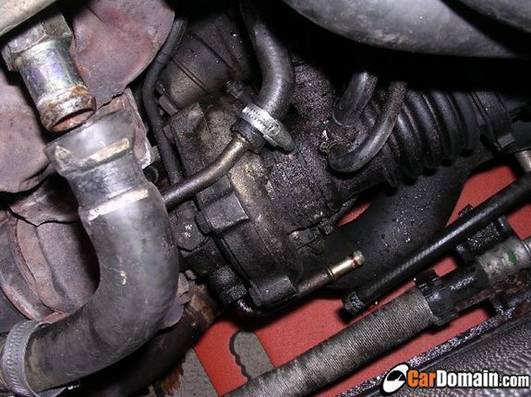
There will be one small pipe going to the actuator and one to the compressor housing. Make a note of which goes where for reconnecting as it’s easy to confuse the two.

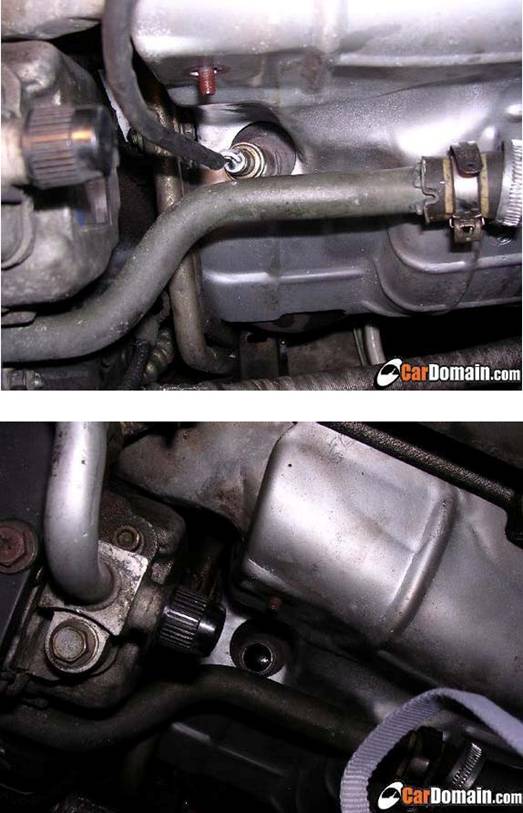
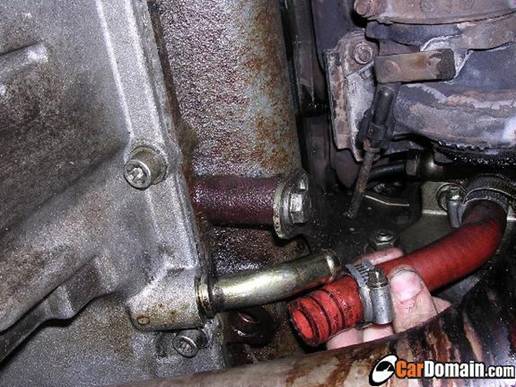
From above, there will be the other coolant pipe to remove

and also the oil feed pipe, which needs to be unbolted and retain the washers.
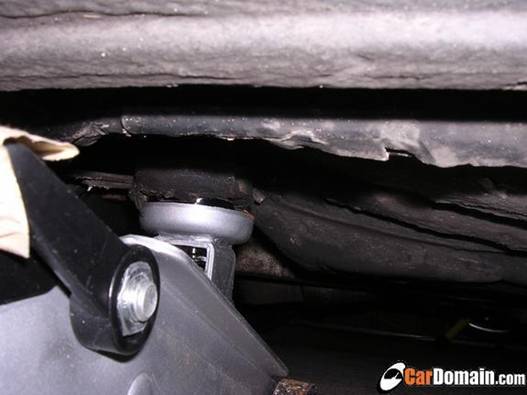
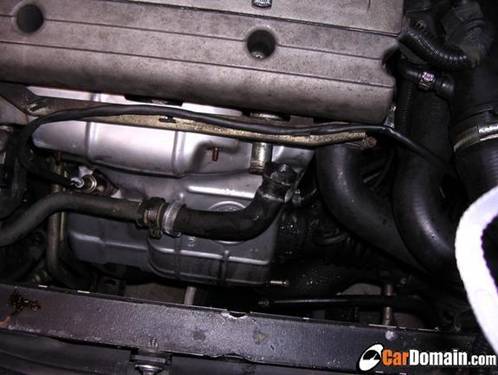
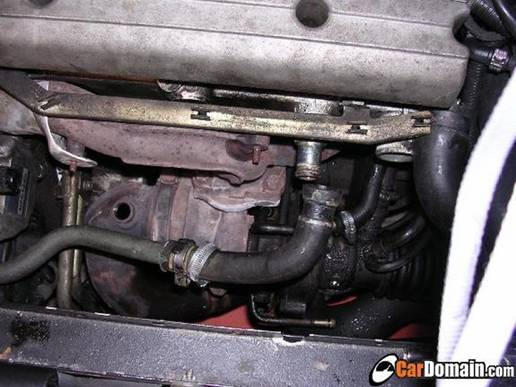
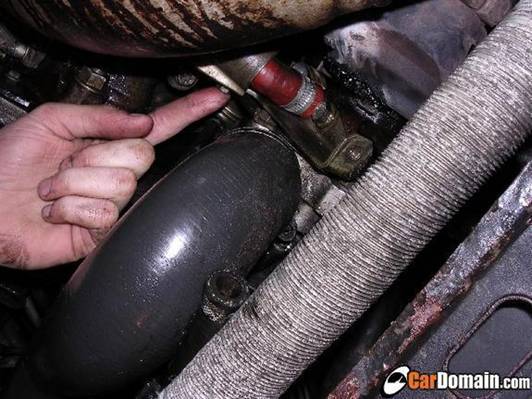
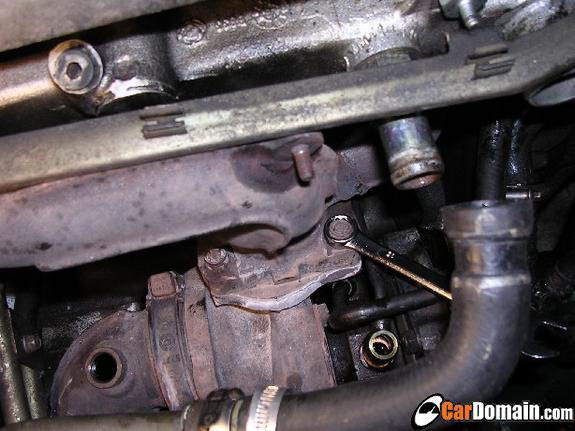
The turbo is connected to the engine by a bracket. Before unbolting this, I suggest you loosen it in the middle, to make removal of the turbo easier.
Nut/bolt in the centre of this picture, just above the red pipe.
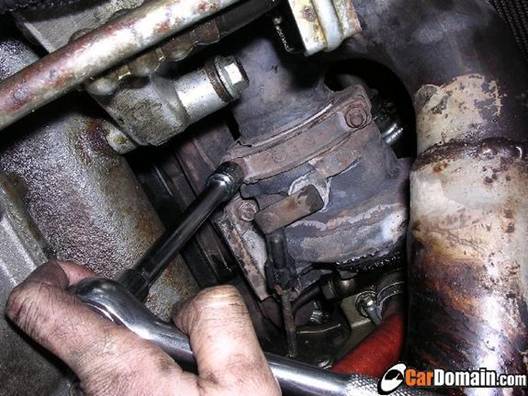
I then loosened the nuts at the manifold joint. There are two at the top and two at the bottom which are hard to get to. The one at the bottom left as you look from above can be gotten from above, which is probably easiest, but make sure you are turning it the correct way!
Don’t completely remove these nuts yet.
Now you can remove the bolts holding the turbo support bracket. The turbo will be supported at the manifold while you do this.
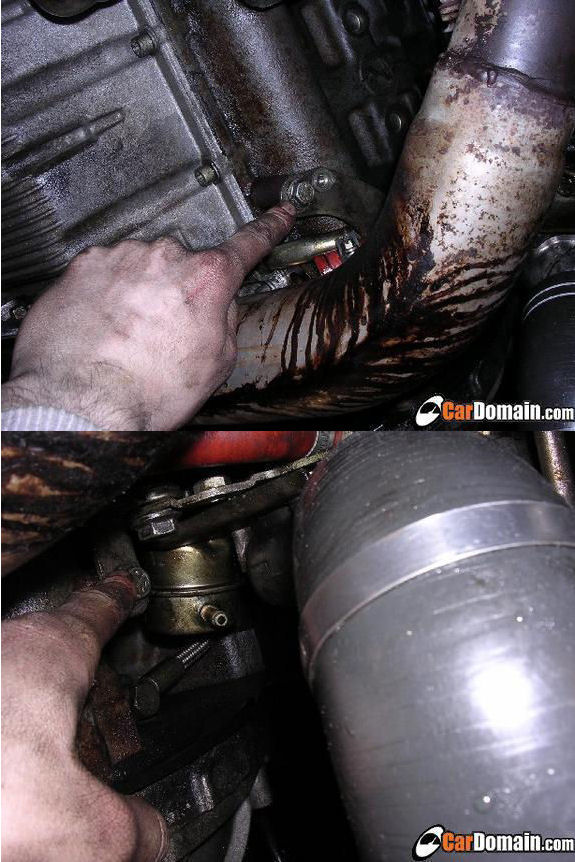
Finally remove the nuts from the manifold join and you should manage to lower the turbo down, although be careful because it is reasonably heavy.
I would suggest that at this stage you familiarise yourself with how the various coolant feed and drain pipes and support bracket join to the turbo. You will need to remove the support bracket and the oil drain pipe.
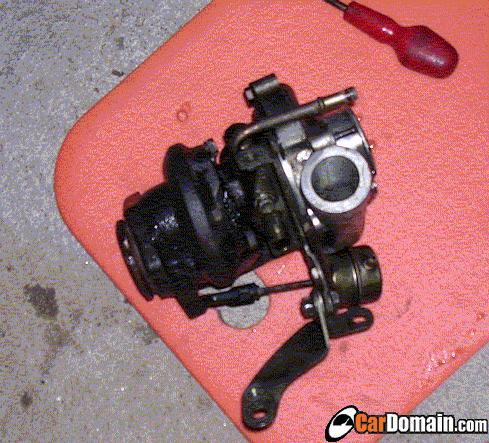
Now send the turbo away for a recon, or fit a shiny new one.
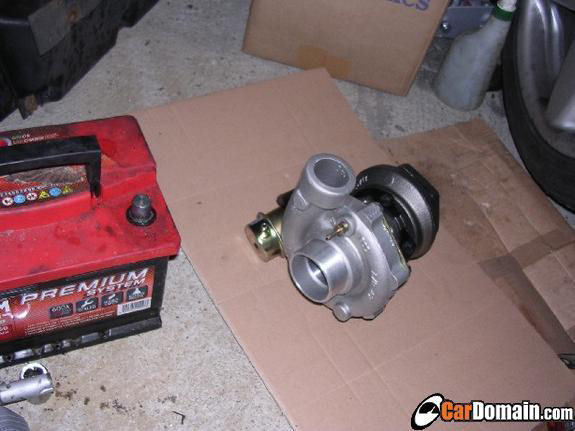
The new turbo came with new coolant pipes because I sent mine away with them still attached, but you may have to swap yours over if you already have a new turbo there.
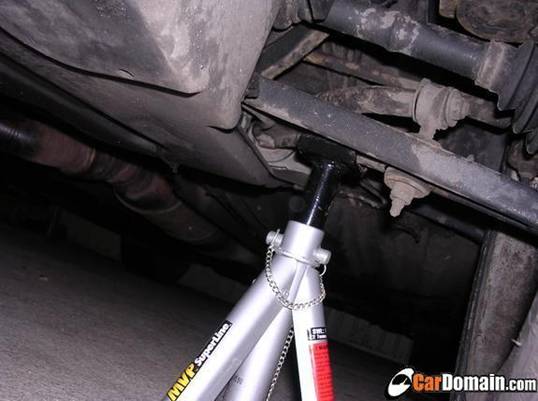
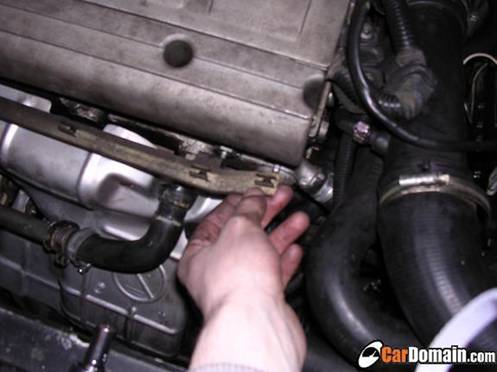
To refit is basically the reversal of removal. I would start with the manifold join, only doing the nuts up hand tight before joining the downpipe. The downpipe should flex quite a bit to allow you to make the join, but you can always remove the support bracket located a bit further under the engine to allow more flex(4 bolts). (very top of this image, not the one further back.
Other points to watch out for are, the positioning of the coolant feed pipe as this can interfere with the heat shield and also the oil feed pipe needs to pass under this pipe so make sure you do that as you’re first offering the turbo into position.
Other things to consider are replacing the fiat hose clips with jubilee clips. Some of mine were not very tight and so I did this. Others were ok and so I reused them as I had a set of hose clip pliers. Only awkward thing about this was that some were originally oriented in such a way that they couldn’t be opened with the pliers, but I used a pair of wire cutters to lever them open, meaning they could be reused.
While you are there, and it’s probably a good idea anyway (TD require it for warranty) you might consider changing the oil and filter. Also, before starting the engine again you should prime the turbo with oil. Basically remove the coil packs and turn the engine over until the oil pressure rises all the way to the top of the gauge. This may require the engine being turned over for quite a few seconds.
Refilling the coolant requires a 50/50 mix of antifreeze and water. Best to use deionised water. To bleed the coolant system there are three bleed screws.
One on the driver side of the radiator at the top.
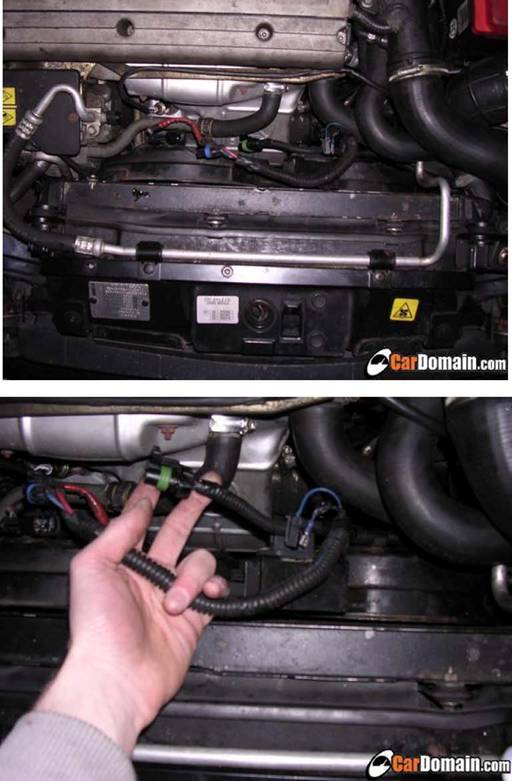
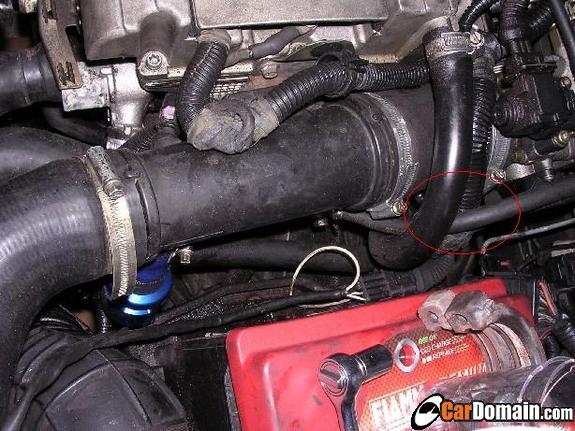
One on the front of the engine above the heat shield. (Later cars will have a hose here rather than a bleed screw.)
And one near the back underneath the throttle body, circled red in the next picture.
Have Fun! MattB